By default the current week is displayed after starting TimeWriter. The left hand side shows the hours of the day, the days of the week are at the top. The current time is highlighted in red, the current day is marked in yellow. The status bar at the bottom shows the total hours of the current week.
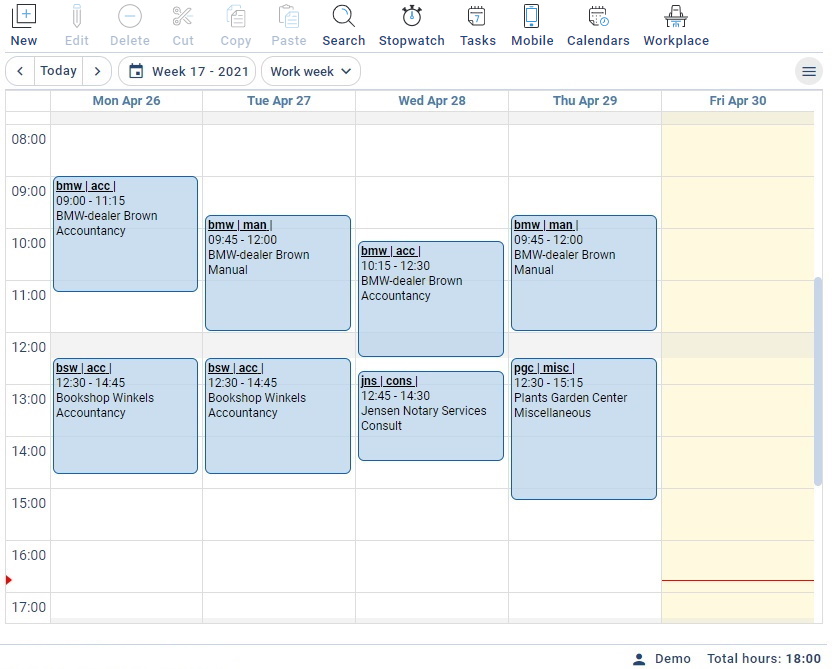
The buttons have the following functions:
Button(s) |
Function |
|---|---|
|
Make a new appointment/booking. |
|
Edit the selected booking. |
|
Delete the selected booking. |
|
Cut the selected booking. Remove the booking and store it in memory so it can be pasted (into another week). |
|
Copy the selected booking(s). Store the selected booking(s) in memory (see Copying a time slot). This button's menu has a Copy whole week option. This allows you to easily copy all bookings from one week to another. |
|
Paste the booking(s) from memory. |
|
Search bookings in history. |
|
Use this button to start a stopwatch to record the time used for a task in progress. After stopping the stopwatch the recorded time will be registered. |
 |
Recurring tasks can be added and managed with this button. |
 |
Here the logged in user can scan a personal QR code with his/her phone to start the web client on that phone.
Invalid TimeWriter mobile bookings from the old mobile apps can also be validated here. If there are bookings to validate, the button will show the number of bookings to validate. |
 |
Set the properties of external calendars for linking with TimeWriter (see Link calendars) |
|
Indicate where someone worked on which day. The reporting module contains a number of separate workplace reports. |
 |
Check entered hours from previous weeks. The number of missing hours will only be visible on the button if checking hours is set at Maintenance and Settings | Settings | Check hours. |
|
Navigate to previous, current or next week. |
|
Navigate to a random week using a calendar (popup). |
|
Select preferred view: Work week, Week or List. |
An information window is displayed when hovering the mouse over an hourly booking.
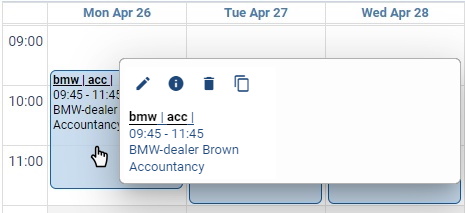
This information window contains a number of buttons with the following functions:
Button(s) |
Function |
|---|---|
|
Edit selected booking. |
|
Display information about the selected booking. |
|
Delete selected booking. |
|
Duplicate selected booking. |
 |
Solve overlap automatically (only available with overlapping bookings) For settings see: Personal settings | General |
Creating a new time slot in the Week grid
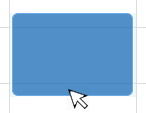
Create a new time slot as follows:
|
|
Editing a time slot in the Week grid
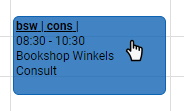
Time slots can simply be adjusted within selected weeks. They can be moved by hovering the mouse over them; when the cursor changes to |
|
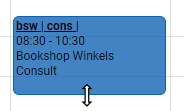
Time slots can also be shortened or lengthened. By hovering over the top- or bottom line, the cursor will change to |
|
Copying can be done by using the Copy button:
| 1. | Select / highlight the time slots to be copied (use [Ctrl] + click to select multiple time slots) and click on Copy. |
| 2. | Navigate to the week in which the time slots are to be pasted. |
| 3. | Click on Paste to copy the time slots into the new location. |
| 4. | The pasted bookings will be created on the same time and day of the week as the original bookings and may overlap with existing bookings. (see Overlapping bookings). |
Overlapping bookings
Any overlapping bookings will be visible in the Week grid. These overlaps will be highlighted in red. These can be adjusted by simply changing one or all of them. See Editing a time slot in the Week grid on how to do this. |
 |
Frequently used tasks
It is possible to create frequently used tasks for time slots that are expected to recur commonly. To do this, open the Frequently used tasks tab, located to the right of the Week grid.
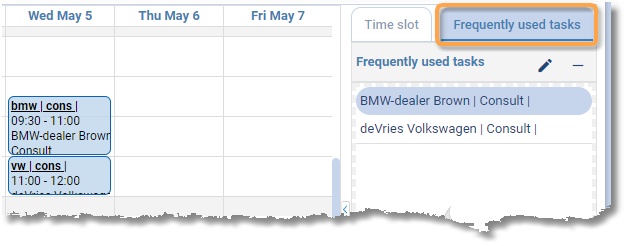
Creating a new frequently used task
| 1. | Select a time slot in the Week grid. Keeping the mouse clicked, drag the selected time slot to the frequently used tasks tab. |
| 2. | A window will appear for you to enter details about the frequently used task. |
Placing frequently used task into the Week grid
| 1. | Select the frequently used task from the list. |
| 2. | Keeping the mouse clicked, drag the selected task to the required location in the Week grid. |
| 3. | If necessary, edit the required details in the opened time slot window and save them. |
A frequently used task can be given a useful name by clicking on ![]() .
.
To delete frequently used tasks from the list, use the ![]() button.
button.

